First Steps
To start using RouteMaster VR, you need to do some basic configuration to connect it to your router system. Here's a step-by-step guide to help you begin.
Physically connect your router
Before RouteMaster VR can control your router, there must be a control connection between the PC running RouteMaster VR and the router system. Usually this is a network connection. You'll need to know the IP address, protocol, and TCP port number used by your router. Check that the IP address can be pinged from a command prompt on the RouteMaster VR PC.
If you're connecting to a legacy router using RS232 or RS422, you'll need to know the baud rate, parity, and stop bits. RouteMaster VR works with any external USB serial port devices, but make sure your serial cable is correctly wired.
Start RouteMaster VR
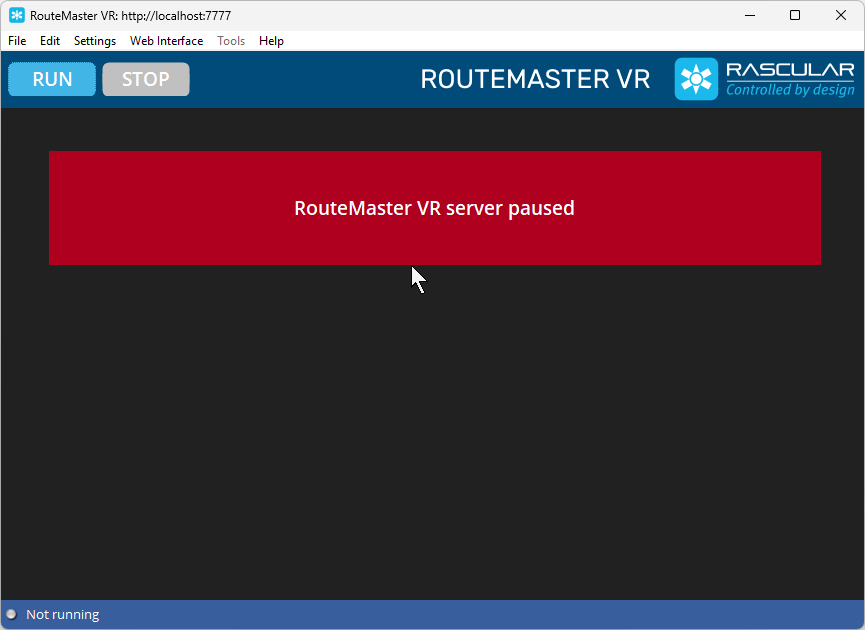
Now that you have your router connected, you can start configuring RouteMaster VR. When you start RouteMaster VR for the first time, you will see a screen like this. Note that the RouteMaster VR server process is not running: RouteMaster VR's internal server process must be stopped to configure your router.
Add a router
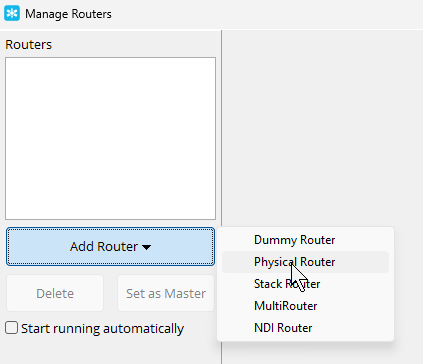
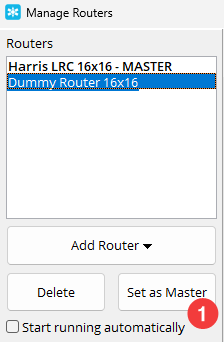
Use the Settings/Configure Routers... menu to open the Manage Routers dialog box. This dialog lets you add and remove routers, and set a wide range of parameters for them.
Right now the list of routers is empty, showing that we have no physical routers configured on this system. The first step is to add a physical router by clicking the Add Router button, and choosing Physical Router from the dropdown.
Configure the router
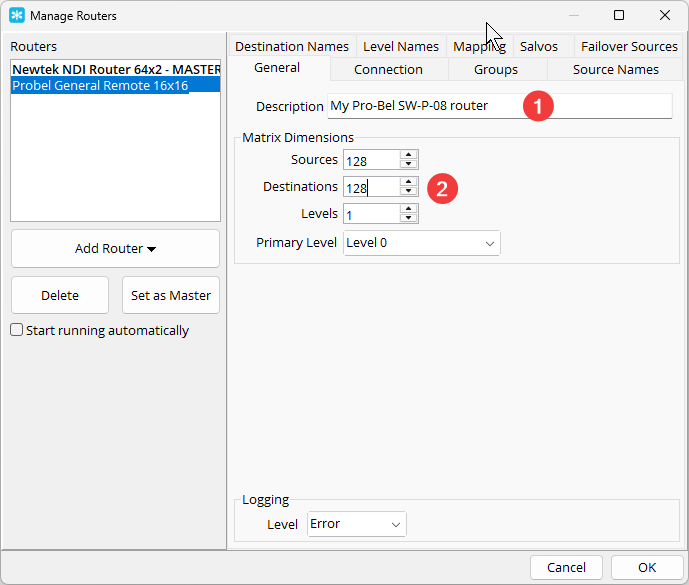
Now that you've added a router, you need to set it up. First, set the size of the router and number of levels. You can also give a simple descriptive name for the router.
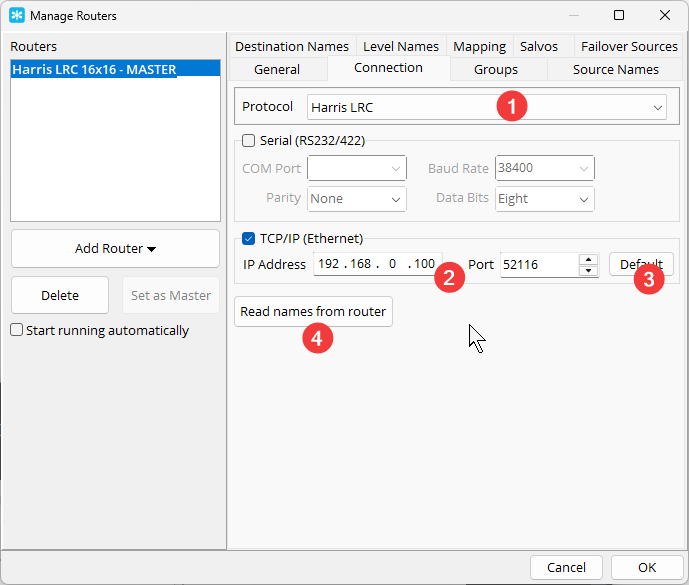
Then move to the Connection tab and set up the router control connection.
- Choose the appropriate protocol according to the model of router you're controlling.
- Enter the IP address of the router.
- Enter the TCP port to use. For many protocols, the
Defaultbutton will automatically select the standard port number. -
To check that the connection is working, click
Read names from router. If the connection is successful, you'll see a message box confirming this, and you should see the number of names retrieved. RouteMaster VR reads names automatically while running, but reading the names here allows you to see the names during the rest of the configuration process.If the names aren't read corectly, check the IP address and port number are correct, and that the router is powered on and connected to the network.
Select the Master Router for your system
If you've added just a single router, it will automatically be chosen as the Master Router. This is the router that is controlled by all clients connecting to RouteMaster VR. If you have multiple routers configured, you can choose the Master by selecting it from the list and pressing Set As Master.
Finally, click OK to save the settings!
Start the RouteMaster VR server
Click the Run button to start the RouteMaster VR server. You'll see the screen change to this.

Let's go through the information shown here.
- The STOP button is now enabled, while RUN is disabled. This shows the server process is running.
- The main grid shows the current source on each level for each router output.
- The status bar shows the Master router status and information on the number of clients connected to RouteMaster VR.
If your routers supports name transfer, you will see the source and destination names in the main table. If not, you will see the numbered inputs and outputs.
You can use the grid view to change the routing directly. More details are here.
Ready to go
Now you have a basic configuration that will let you connect to RouteMaster VR with various control clients and switch crosspoints on your router.