Web UI
RouteMaster VR V2.8.0 includes a new Web-based UI for control and configuration. This operates alongside the existing main UI, and currently only offers a subset of the main UI functions. Eventually the Web UI will be enhanced to include all functions available in the application UI, which will then be deprecated. Newer configuration features may only be accessible via the Web UI.
Prior to V2.8, RouteMaster VR included an internal web server to allow users to run web-based router control panels designed with Rascular Helm. The web server was enabled in the Client Settings dialog, under the Web Panels tab. The server only ran while RouteMaster VR was in the 'Run' state.
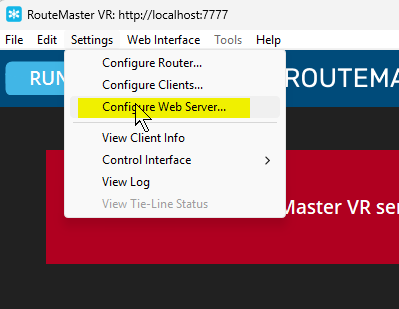
From V2.8 onwards, the web server is configured using a dedicated dialog. If enabled, the server runs even when RouteMaster VR is 'stopped'. Select Configure Web Server from the Settings menu.
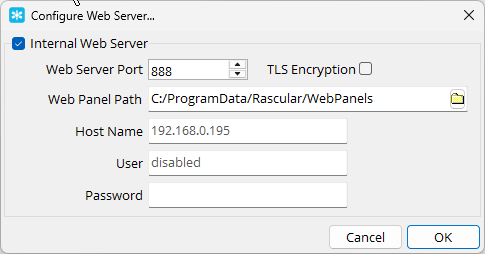
Check the Internal Web Server box, and select a suitable TCP port that's not already in use on your system. To prevent accidental access to the Web UI, you can optionally specify a username and password. See the section below on Web UI Security.
Opening the Web UI
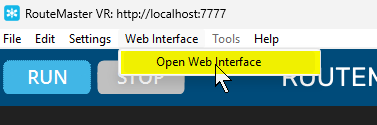
Once the server's configured, you can open the Web UI using Open Web Interface from the menu. Or, by just entering the URL directly in your browser.
The Web UI is shown below. A navigation section on the left lets you switch between pages, and the UI can be operated in Dark or Light modes.
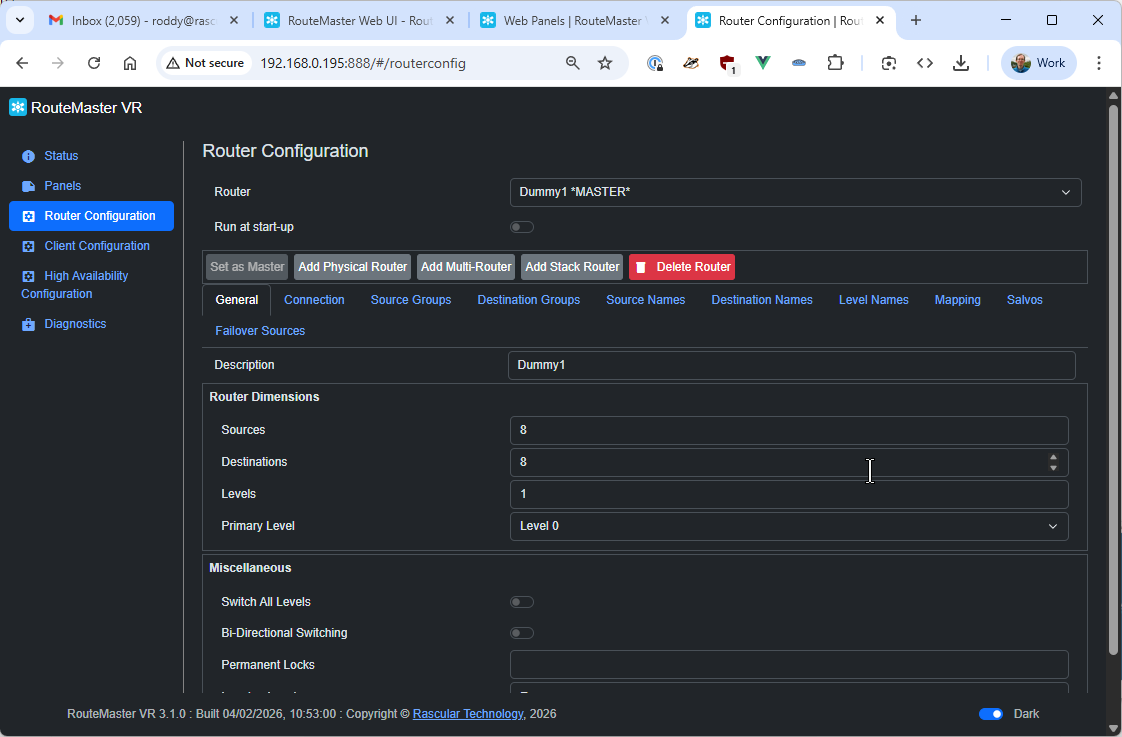
Available Tabs:
Web Interface Security
RouteMaster VR's Web UI allows a single username and password to be configured to allow access to the system. This uses HTTP Basic Auth, which prevents accidental access, but - due to use of plaintext HTTP transmissions - does little to prevent malicious access. To ensure the system's security, firewall rules should be in place to prevent access from unauthorized systems, and TLS mode should be enabled, with appropriate certificate files installed. Contact support@rascular.com for further details on this.