RouteMaster as a Windows Service
Note
Before V2.4.5, it was possible to manually install RouteMaster VR as a service using NSSM. Now, the RouteMaster VR installers support installation as a service directly. Note that you can still use NSSM and modify shortcut properties to change the behaviour.
RouteMaster VR is often run just as a Windows desktop application. While you can configure Windows to run RouteMaster VR as a startup application, this still requires a user to log on to the computer.
Running RouteMaster VR as a service solves this problem, because services run as soon as the PC boots. Because service applications can't appear as regular windows on the desktop, the RouteMaster VR service provides a REST API, which allows you to use the regular RouteMaster VR UI to configure and monitor the the system as uaual.
Installing the service
Install RouteMaster VR as normal, selecting 'Sevice' from the 'Components' page.
Running the Front-end application
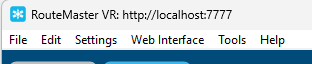
From the Start menu, you'll find a new entry RouteMaster VR (Service). Run this, and it will connect to the RouteMaster VR service and display the usual UI. You can use this to configure and run the system as normal
The title bar of the application now shows the URL of the REST API that it's connected to. By default, this is http://localhost:7777, but you can change this using the -c command line option.
Modifying the service configuration
Uder the hood, RouteMaster VR uses the NSSM utility to run as a service. If you need to change the configuration of the service, you can do this using NSSM.
A typical use of this is to change change the port number used for the REST API.
Open a command window with administrator privileges in RouteMaster VR's application directory, and run the following command:
nssm edit RouteMaster VR... or for RouteMaster VR
nssm edit " RouteMaster VR-VR"
You'll see NSSM's graphical UI which allows you to set the path the the RouteMaster VR application, normally C:\Program Files(x86)\Rascular\RouteMaster VR\RouteMaster VR.exe
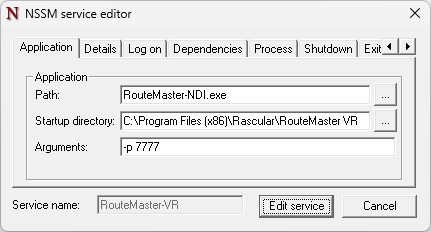
The important settings are the command line arguments passed to RouteMaster VR.
-p 7777This tells RouteMaster VR to run the REST API on TCP port 7777. Normally, the port number is allocated dynamically, but we need a fixed port number to allow us to communicate with RouteMaster VR when it's a service.-f C:\rmdataThis is optional, but tells RouteMaster VR to use the specified folder for its configuration and log files.
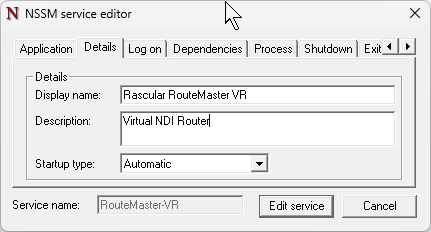
You can also modify the friendly name and description in the Details tab. Other fields do not need changing.
The last thing to check is that RouteMaster VR is configured to start in the "Run" mode. Make sure this checkbox is enabled in the "Configure Router..." dialog.
Logs and Settings Files
When running as a service, logs and setting will be stored in a different location.
From V3.2.0 onwards, logs and setting files are stored in C:\ProgramData\Rascular\RouteMaster VR (SERVICE).
In earlier versions they would be located in C:\Windows\SysWOW64\config\systemprofile\AppData\Roaming\Rascular\RouteMaster VR
The location can be changed using the -f option shown above.
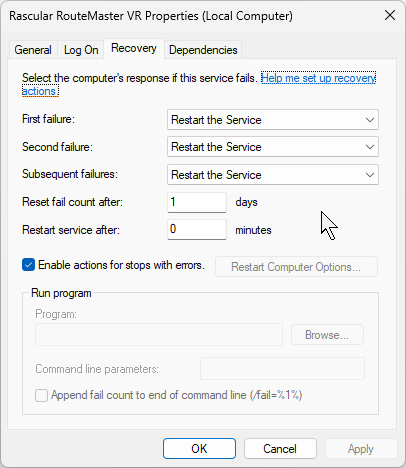
Automatic Restarts
Another advantage of running as a service is that the Service Manager can automatically restart the service if it crashes. Use the Windows "Services" tool to edit the service recovery properties as required